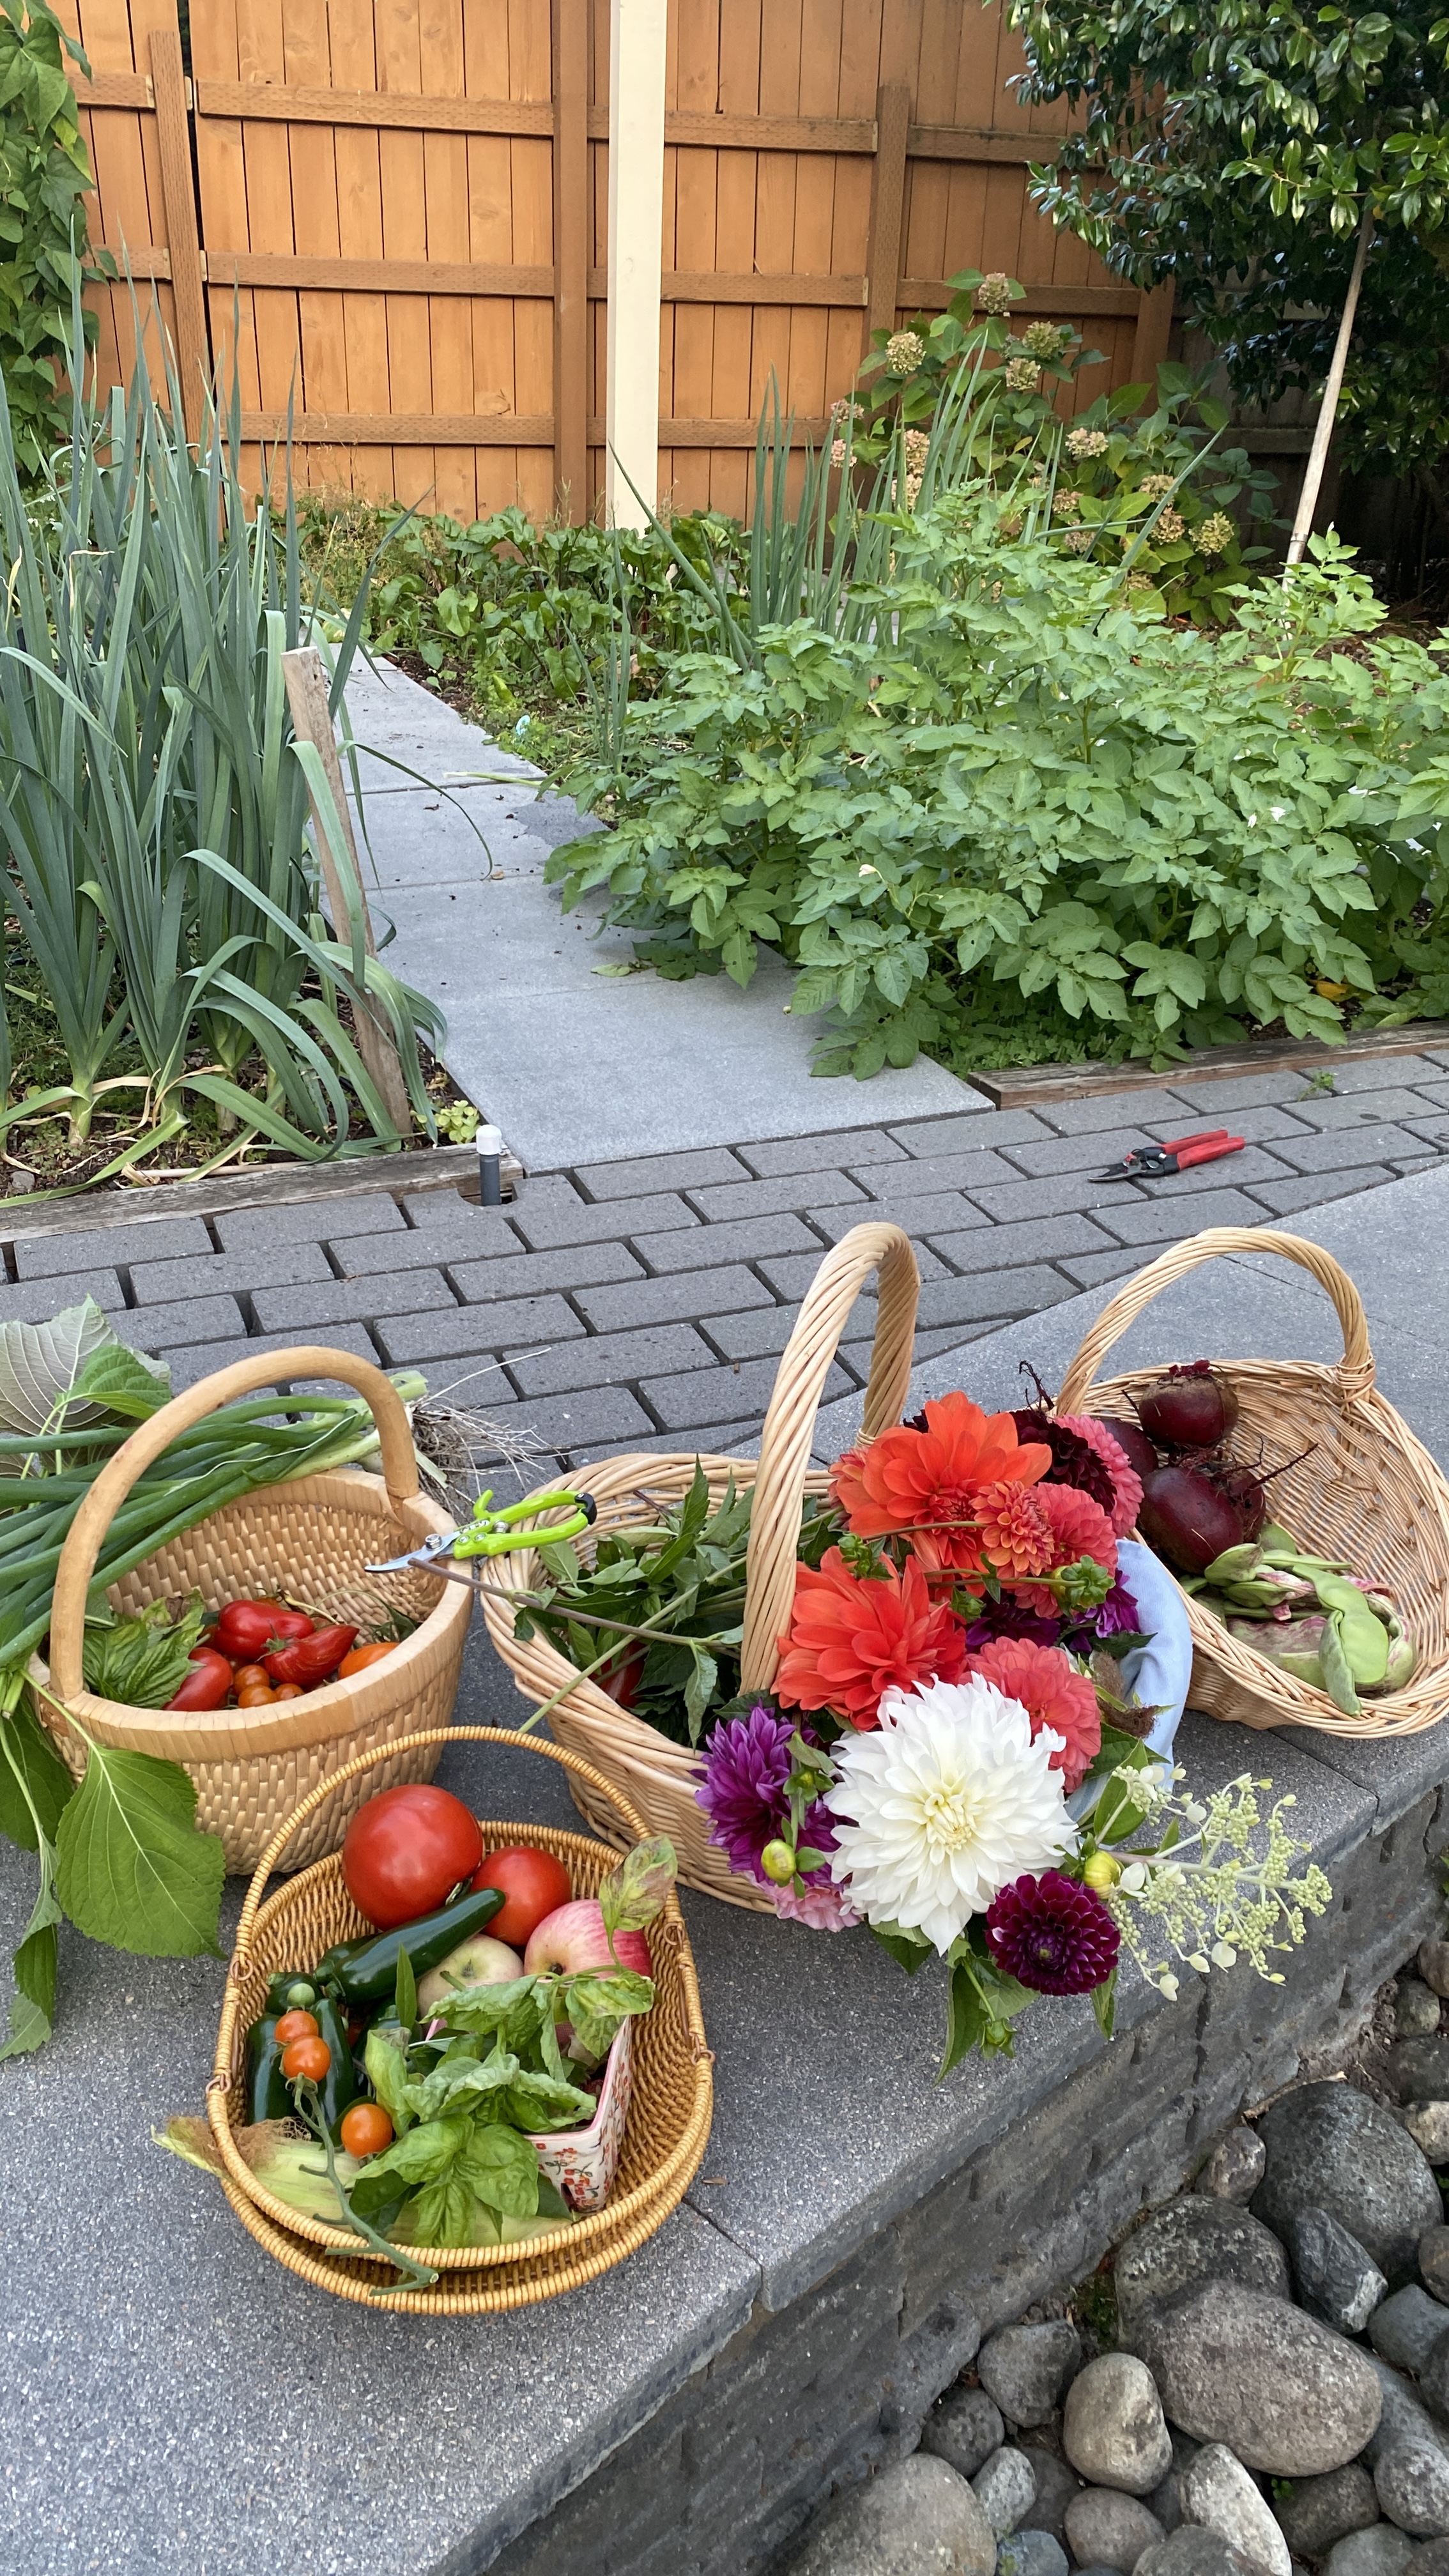
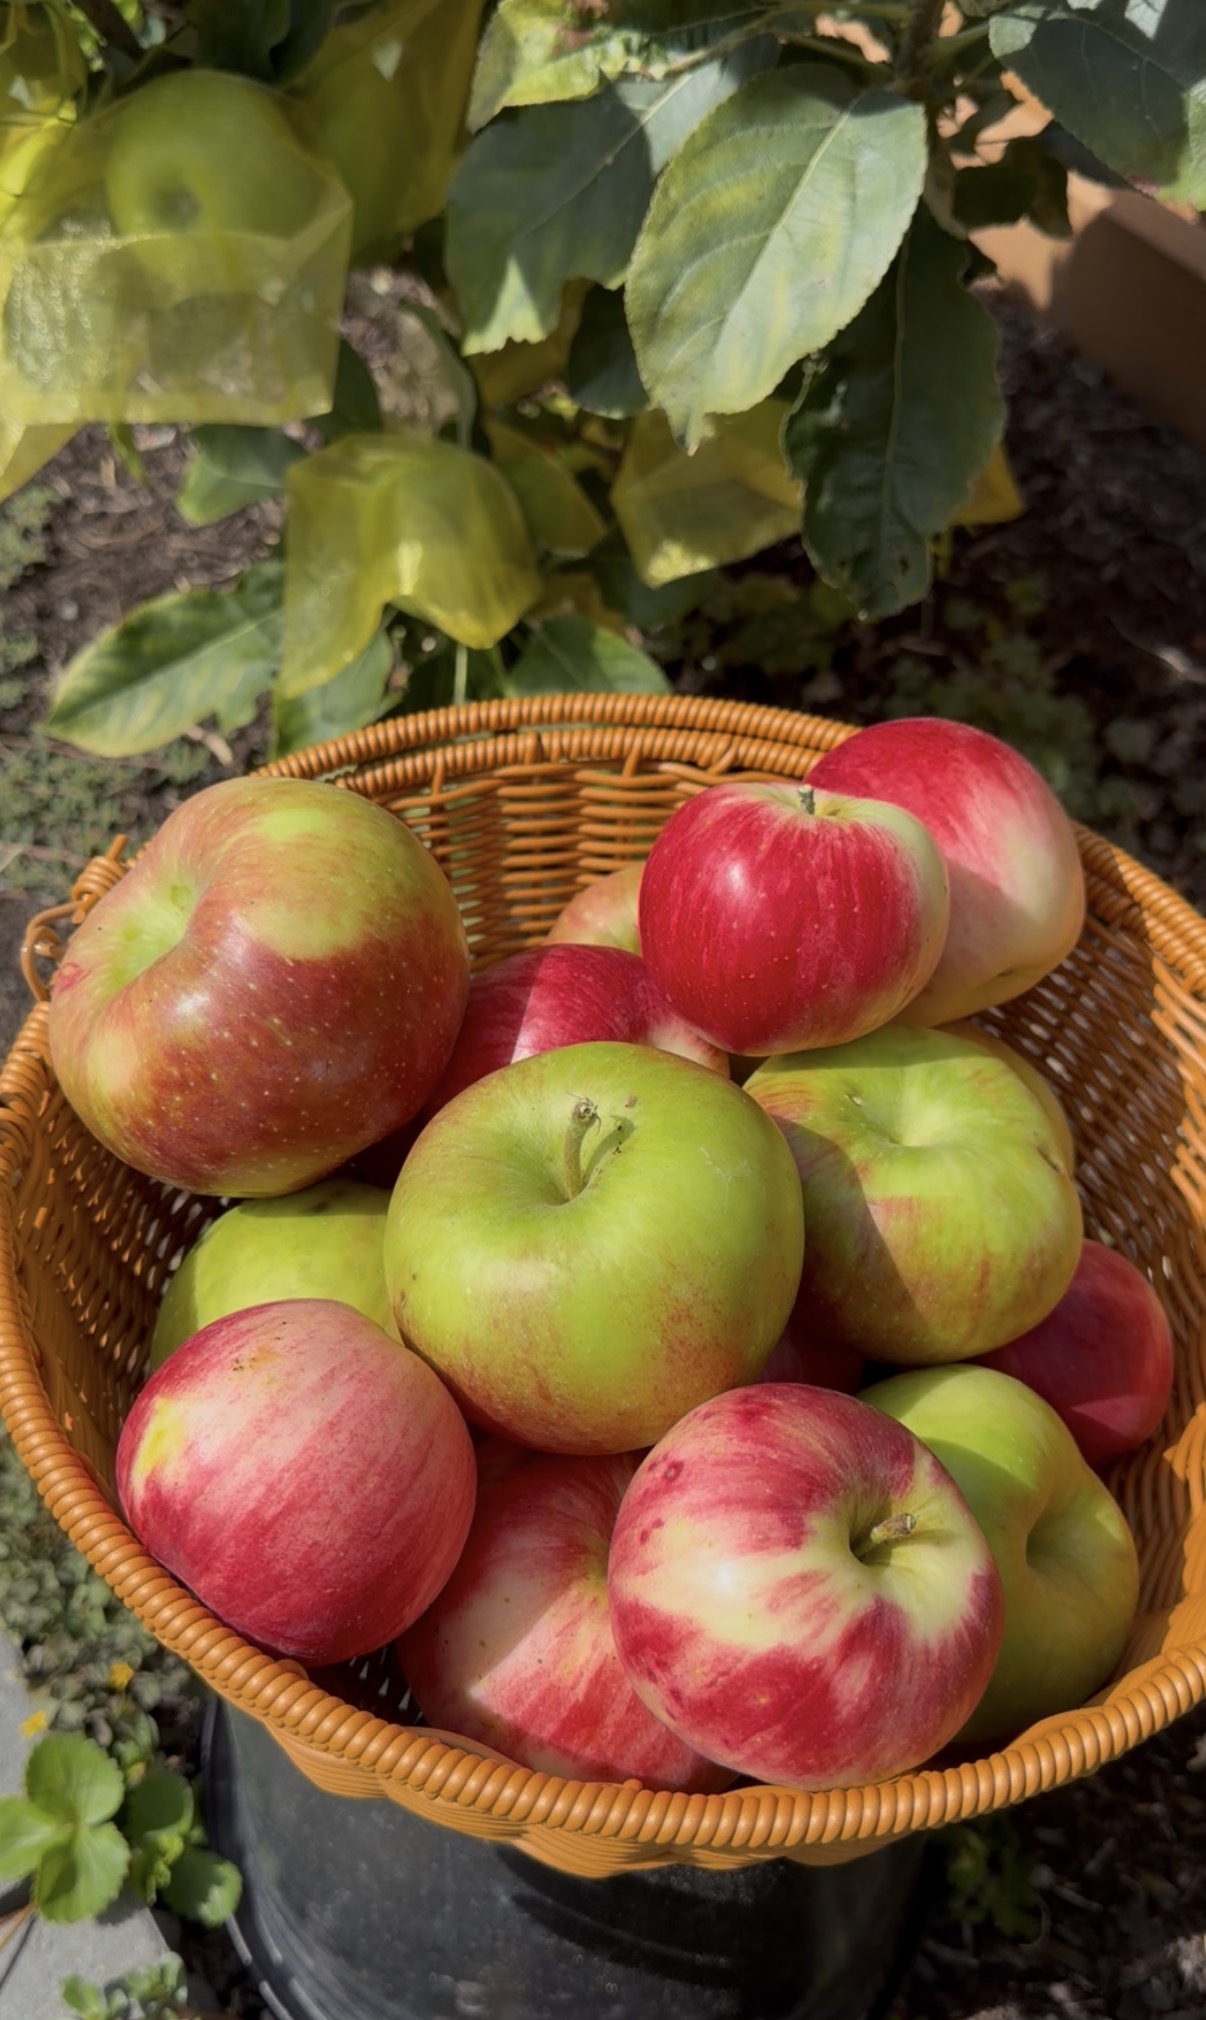
I want to start a garden. Where do I start?
Not with seeds, and not with a trip to the garden center. Start by sitting outside and watching where the sun goes.
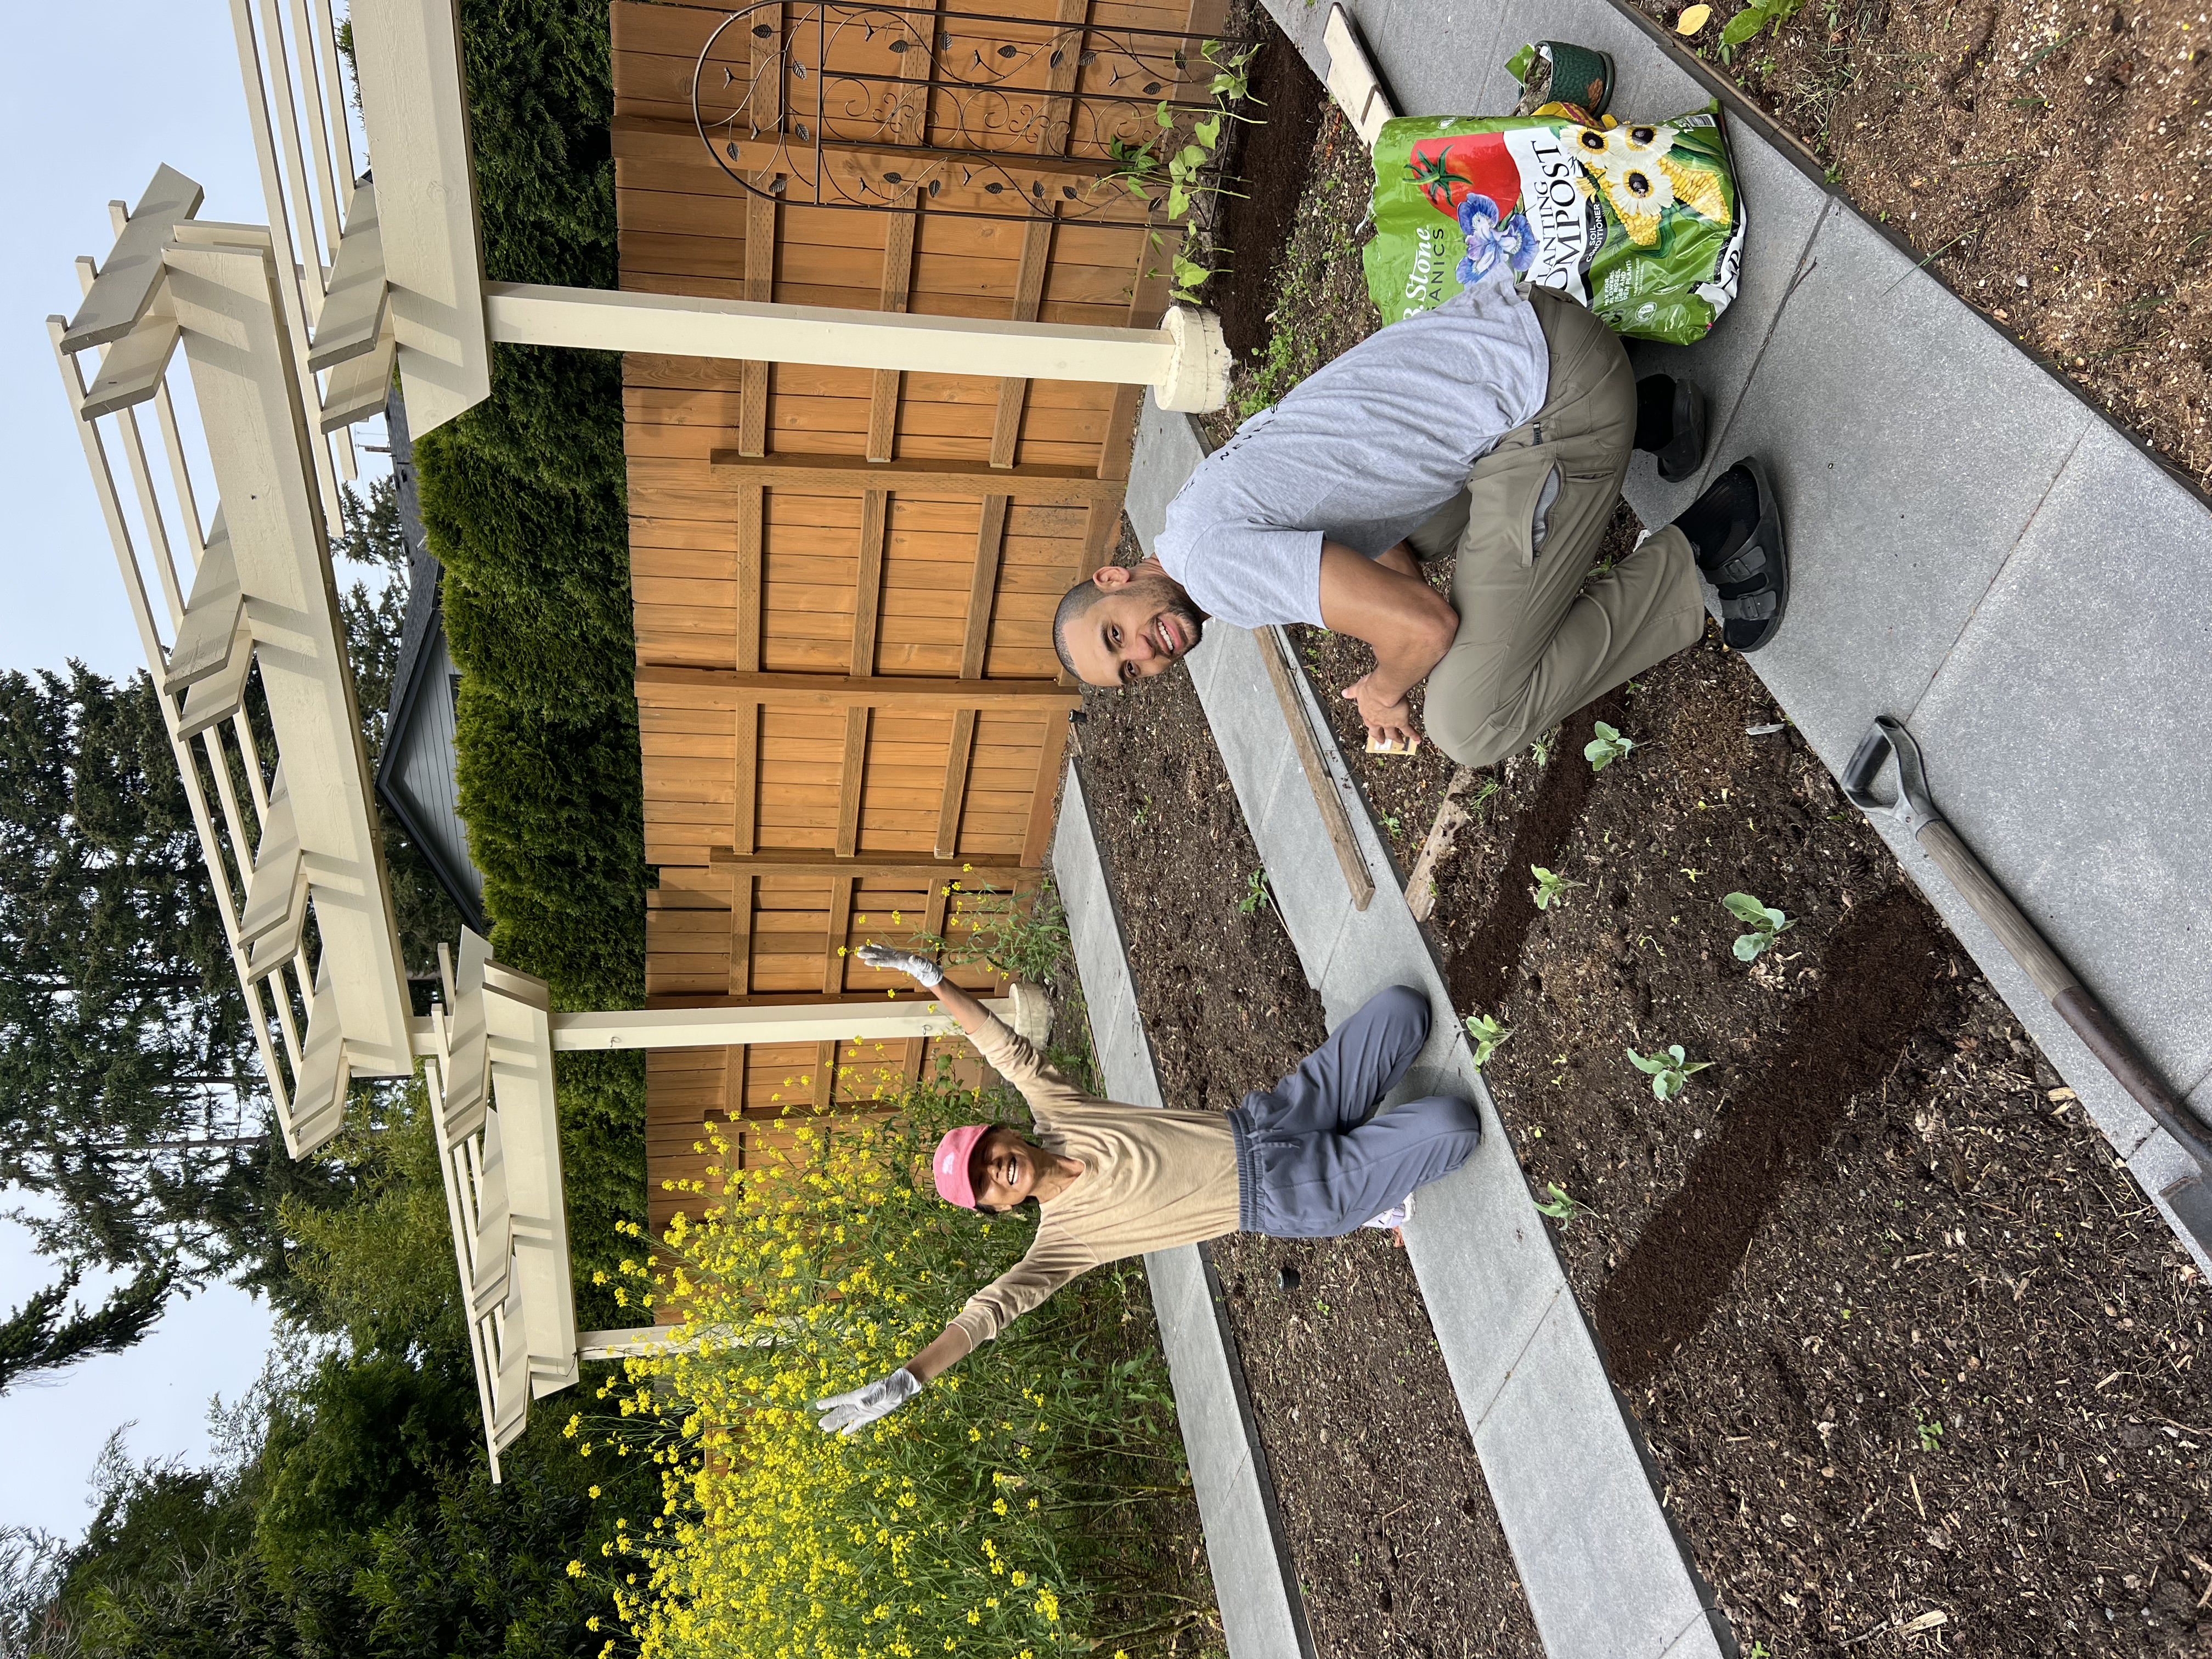
Planting day with my son-in-law. Everything here is about two inches tall, by August it's over my head.
Most people start a garden by buying plants. That's the fun part, so I understand the temptation, but it's why so many first gardens struggle. The decisions that really determine how your garden does get made before anything goes in the ground, and happily, they're mostly free.
Here's the order I'd do it in, if you were starting alongside me.
Step one: find your sun
Pick a weekend and check your yard at 8am, noon, 3pm and 6pm. Note which areas are in full sun each time. You're looking for a spot with at least six hours of direct summer sun, eight is better.
This one constraint decides most of what you can grow:
Tomatoes, peppers, cucumbers, beans, squash, eggplant, basil, anything you eat the fruit of.
Lettuce, spinach, kale, chard, cabbage, herbs, radishes, leaves and roots tolerate less light.
If you only have four hours of sun, you can still have a lovely garden, it just won't be a tomato garden. Knowing that now saves you a sad August.
Step two: find your zone and your frost dates
Search "USDA hardiness zone" plus your zip code. That number tells you what survives your winter. Then find your average last spring frost and first fall frost, those two dates are your growing season, and nearly every planting instruction you'll ever read is written relative to them.
Write them on a sticky note. "Start indoors 6 weeks before last frost" means nothing until you know your date.
Step three: go smaller than you want to
I know, I know. But the most common way a first garden goes sideways is that it's simply too big to keep up with in July, when it's hot, the weeds are winning and the novelty has worn off.
One 4×8 raised bed, or a handful of large containers, is a real garden. It will produce more than you expect and you'll actually maintain it. You can always add a second bed next year, and you'll add it knowing much more than you do now.
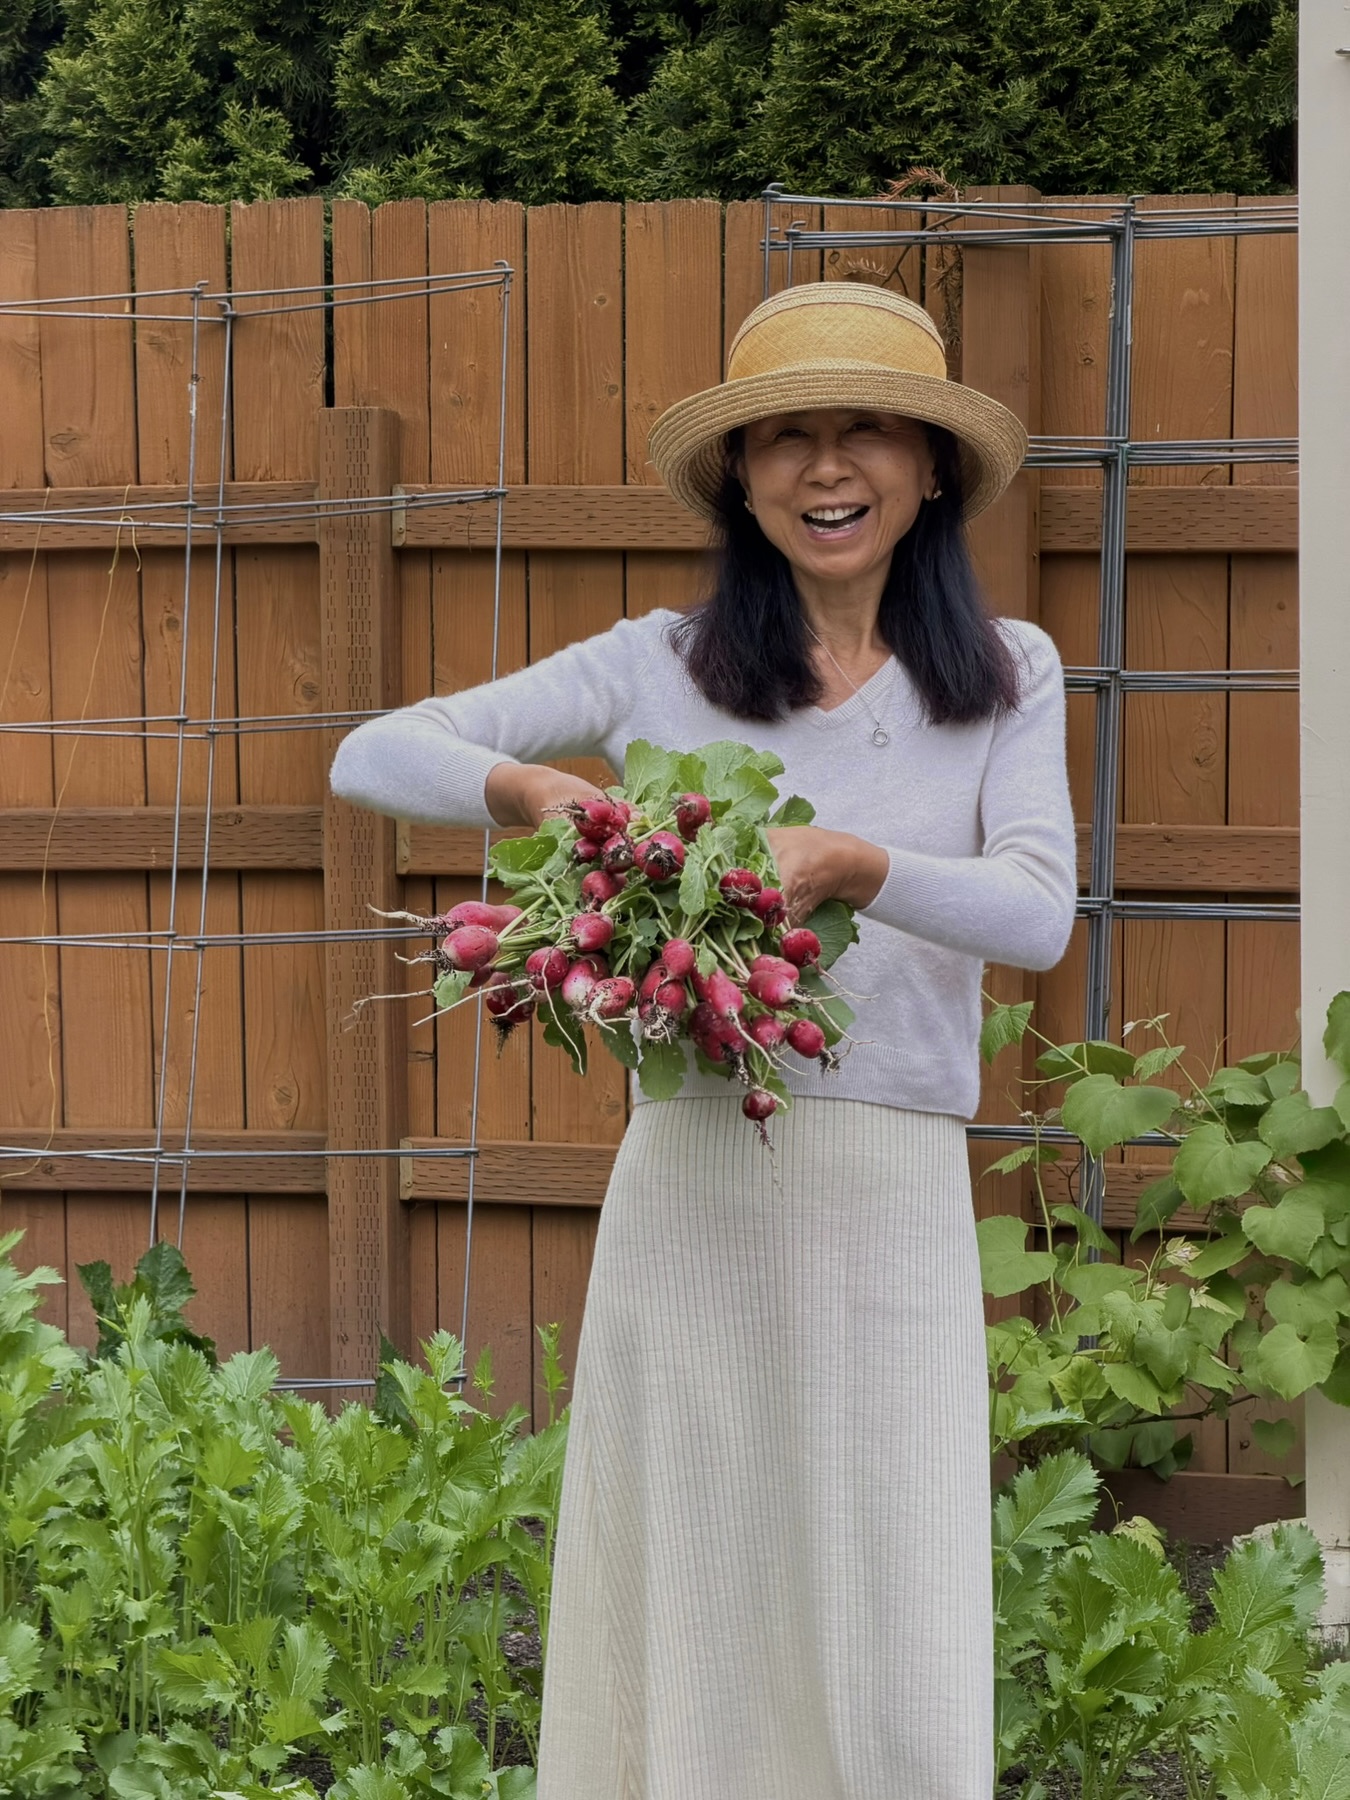
Step four: pick how you'll plant
In-ground
Cheapest. Best if your existing soil is decent. Layer three inches of compost on top rather than digging it in.
Raised bed
Warms earlier, drains better, easier on your back, and you control the soil completely. What I'd choose. 12–18 inches deep.
Containers
Patios and renters. Go bigger than feels necessary, 15 gallons for a tomato. Small pots dry out by noon.
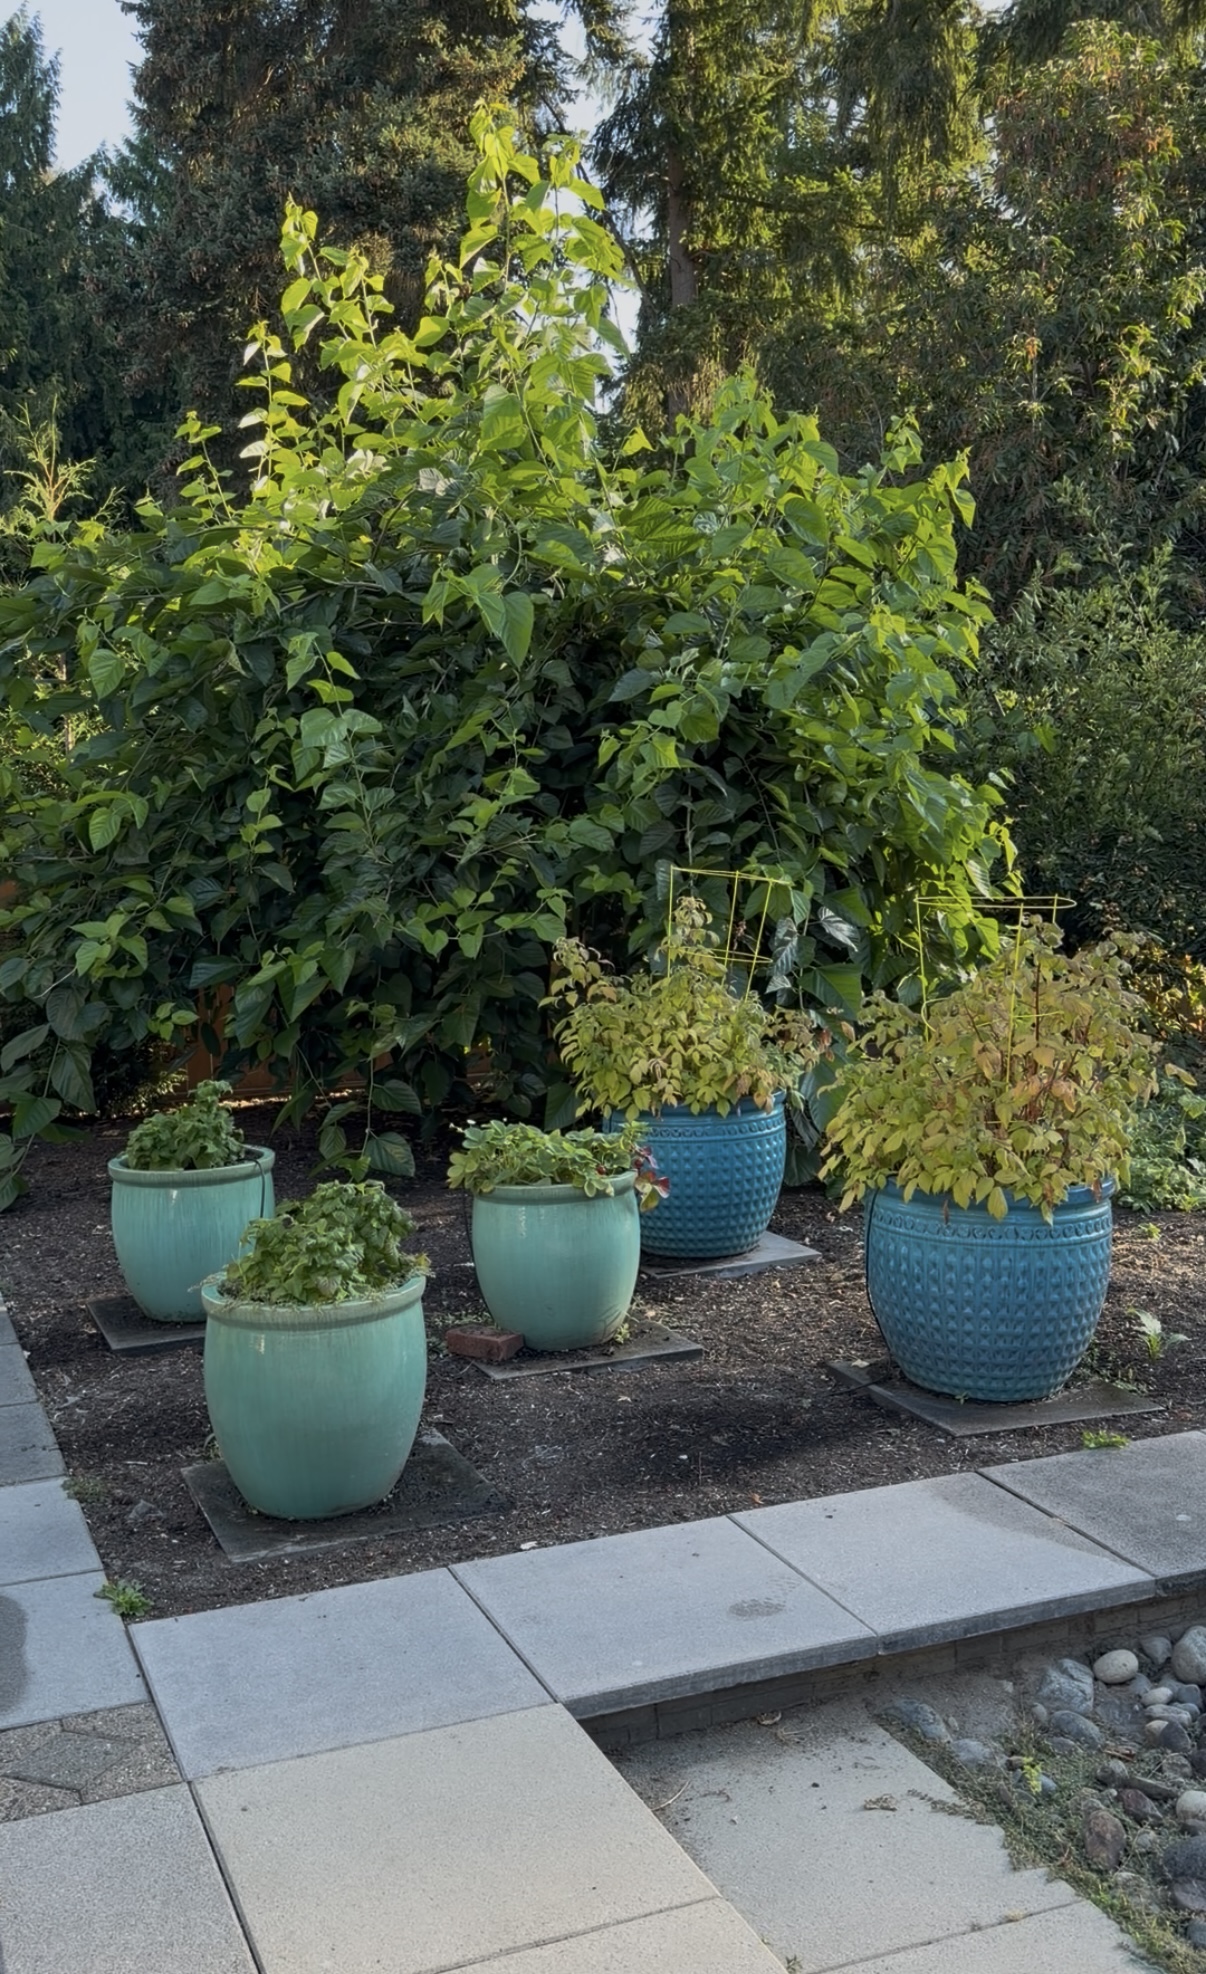
Go bigger than feels necessary. These are 15-gallon pots, and the plants are happier for it.
Whatever you choose, leave yourself a path. If you can't reach the middle of a bed without stepping in it, it's too wide. Four feet across is the practical maximum.
“My first year I planted nine tomato plants for two people. We ate tomatoes until we were sick of them and I still gave bags away. Two would have been plenty.”
Step five: plant what you actually eat
This sounds obvious, and almost nobody does it. Walk through your kitchen and look at what's in the fridge. If nobody in your house eats radishes, don't grow radishes because a seed catalog made them look interesting.
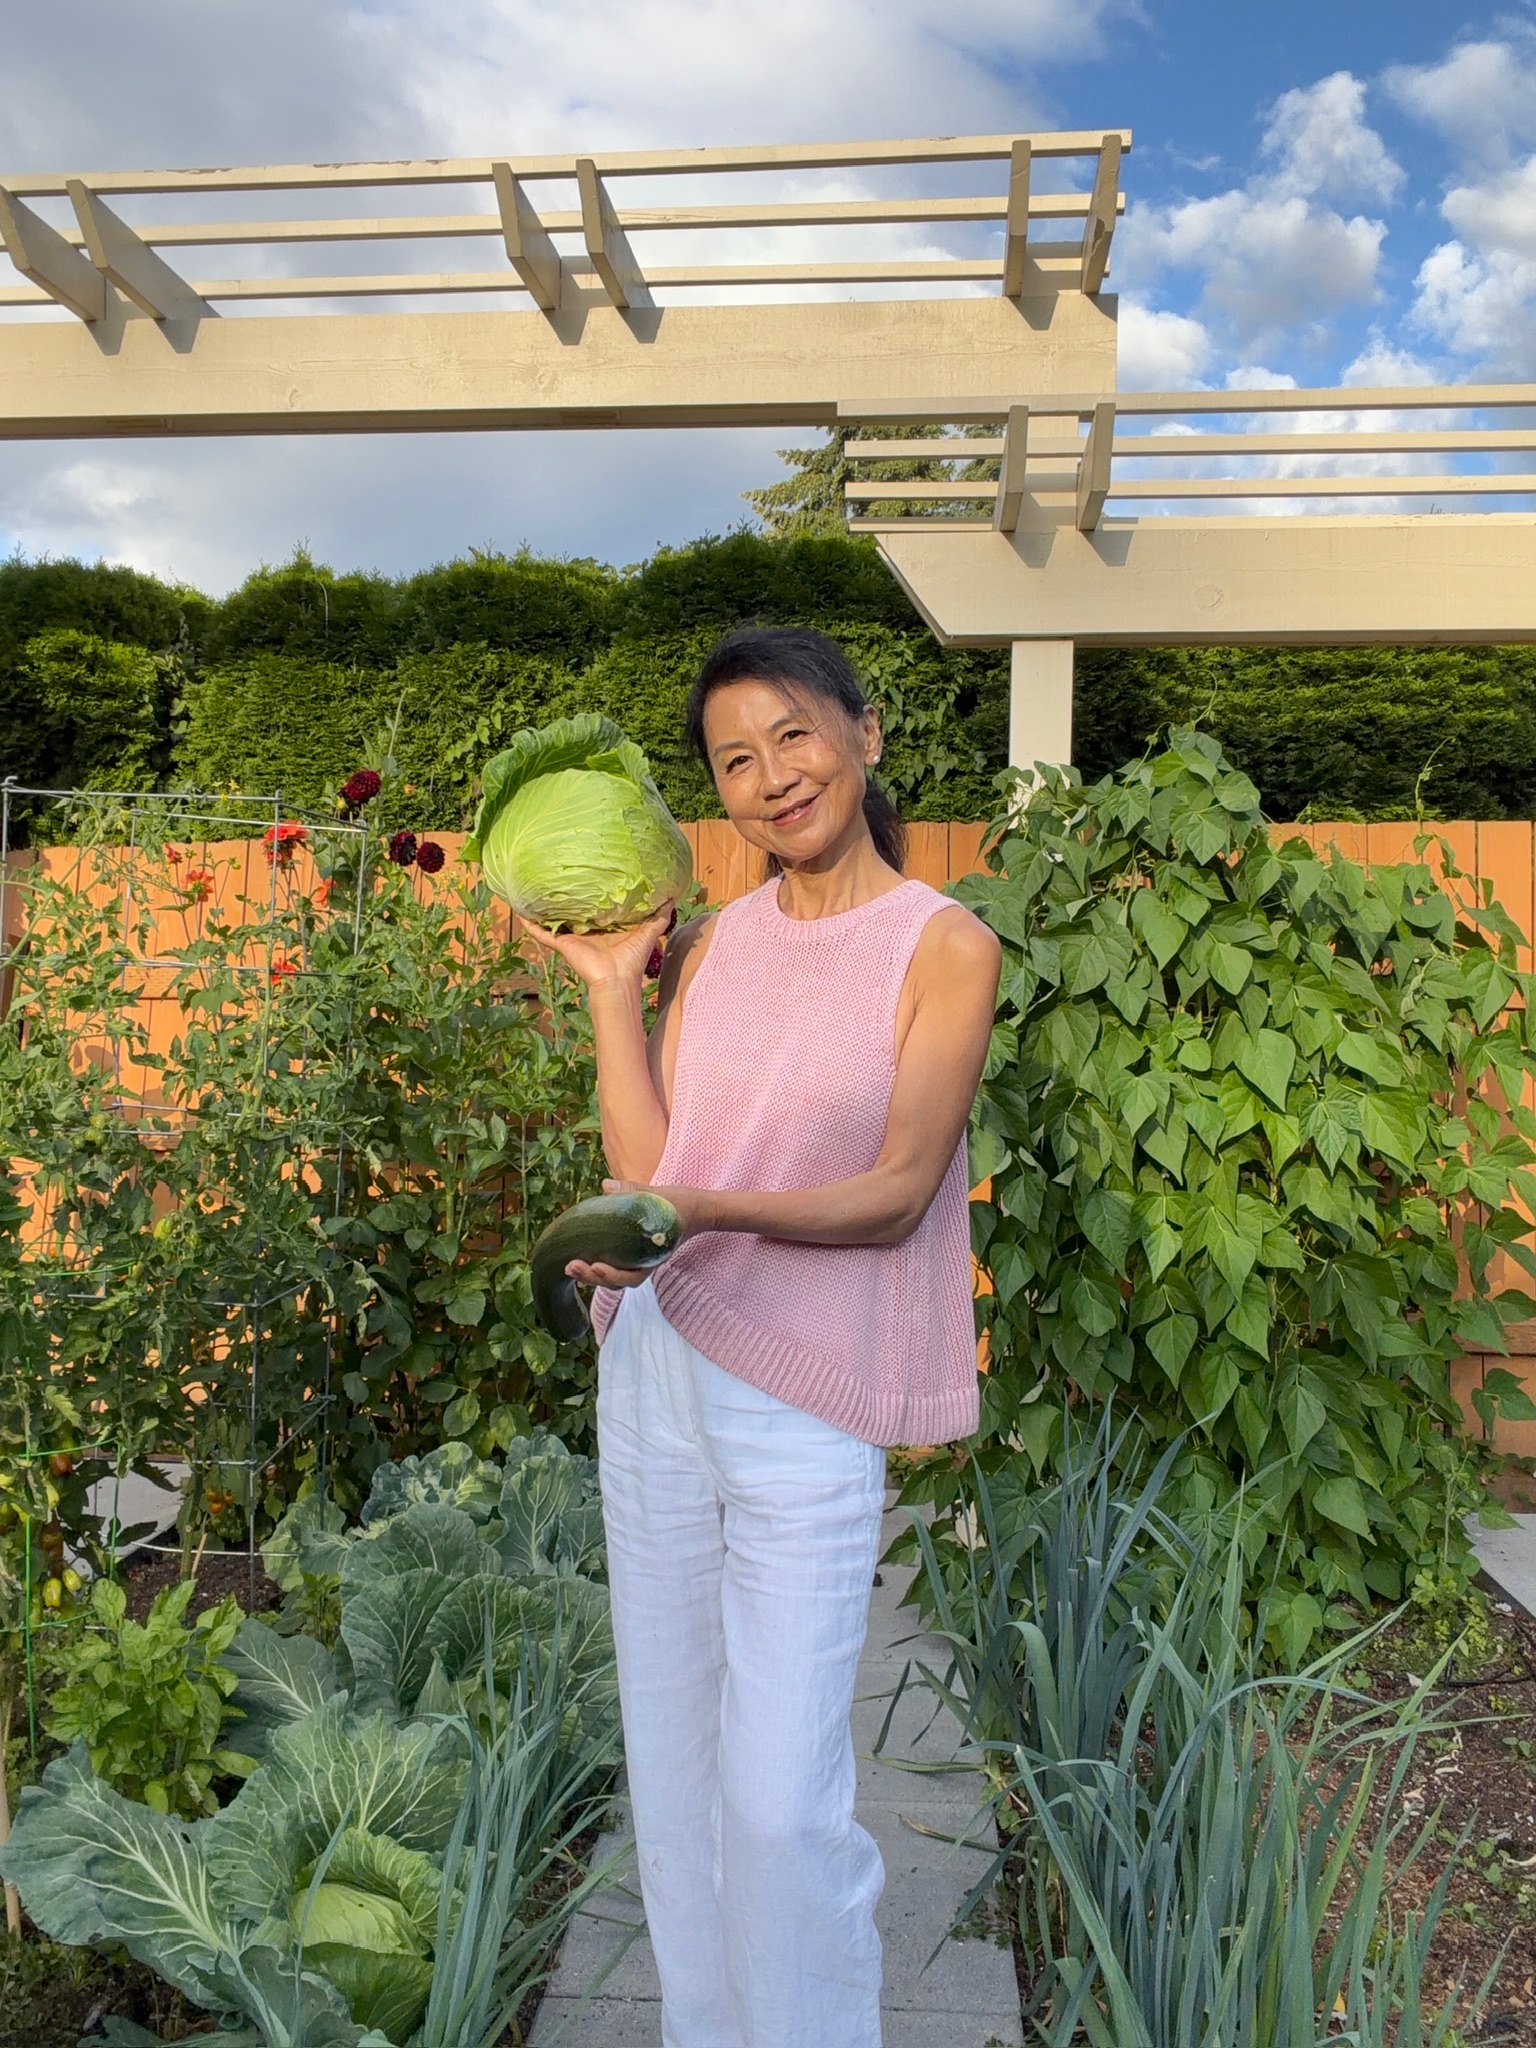
For a first year I'd grow: two tomatoes, a pepper, a cucumber on a trellis, bush beans, a row of lettuce you cut and it regrows, and basil. That's a garden you'll cook from all summer.
Step six: buy starts, not seeds (mostly)
Seed-starting is a separate skill with its own lights, timing and failure modes. Your first year, buy transplants for tomatoes, peppers and herbs, and direct-sow only the easy things: beans, radishes, lettuce, peas, squash. You'll learn to keep plants alive first, which is the harder skill anyway.
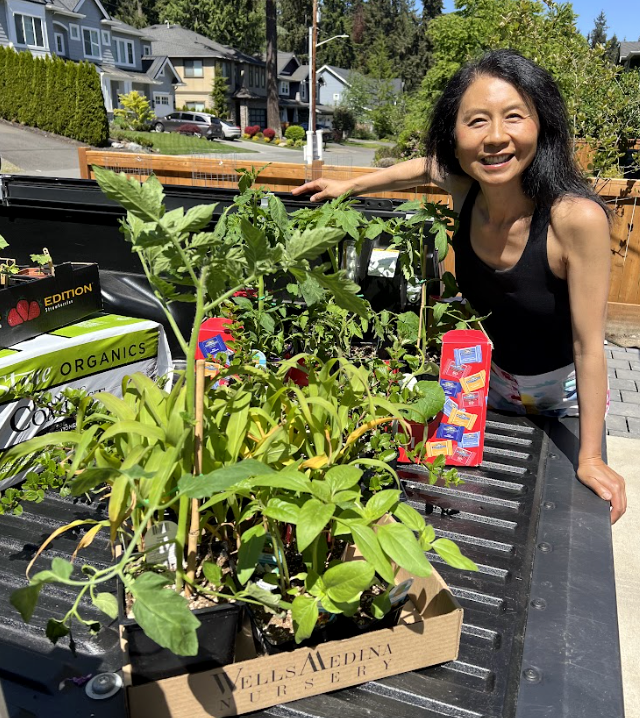
A truckload of starts from the nursery. This is how my season actually begins.
Step seven: water deeply, not often
A long soak two or three times a week beats a light sprinkle every day. Deep water pulls roots downward, where soil stays cool and moist. Check by pushing a finger two inches into the soil; if it's damp, wait. Then mulch, which cuts how often you have to do any of this roughly in half.
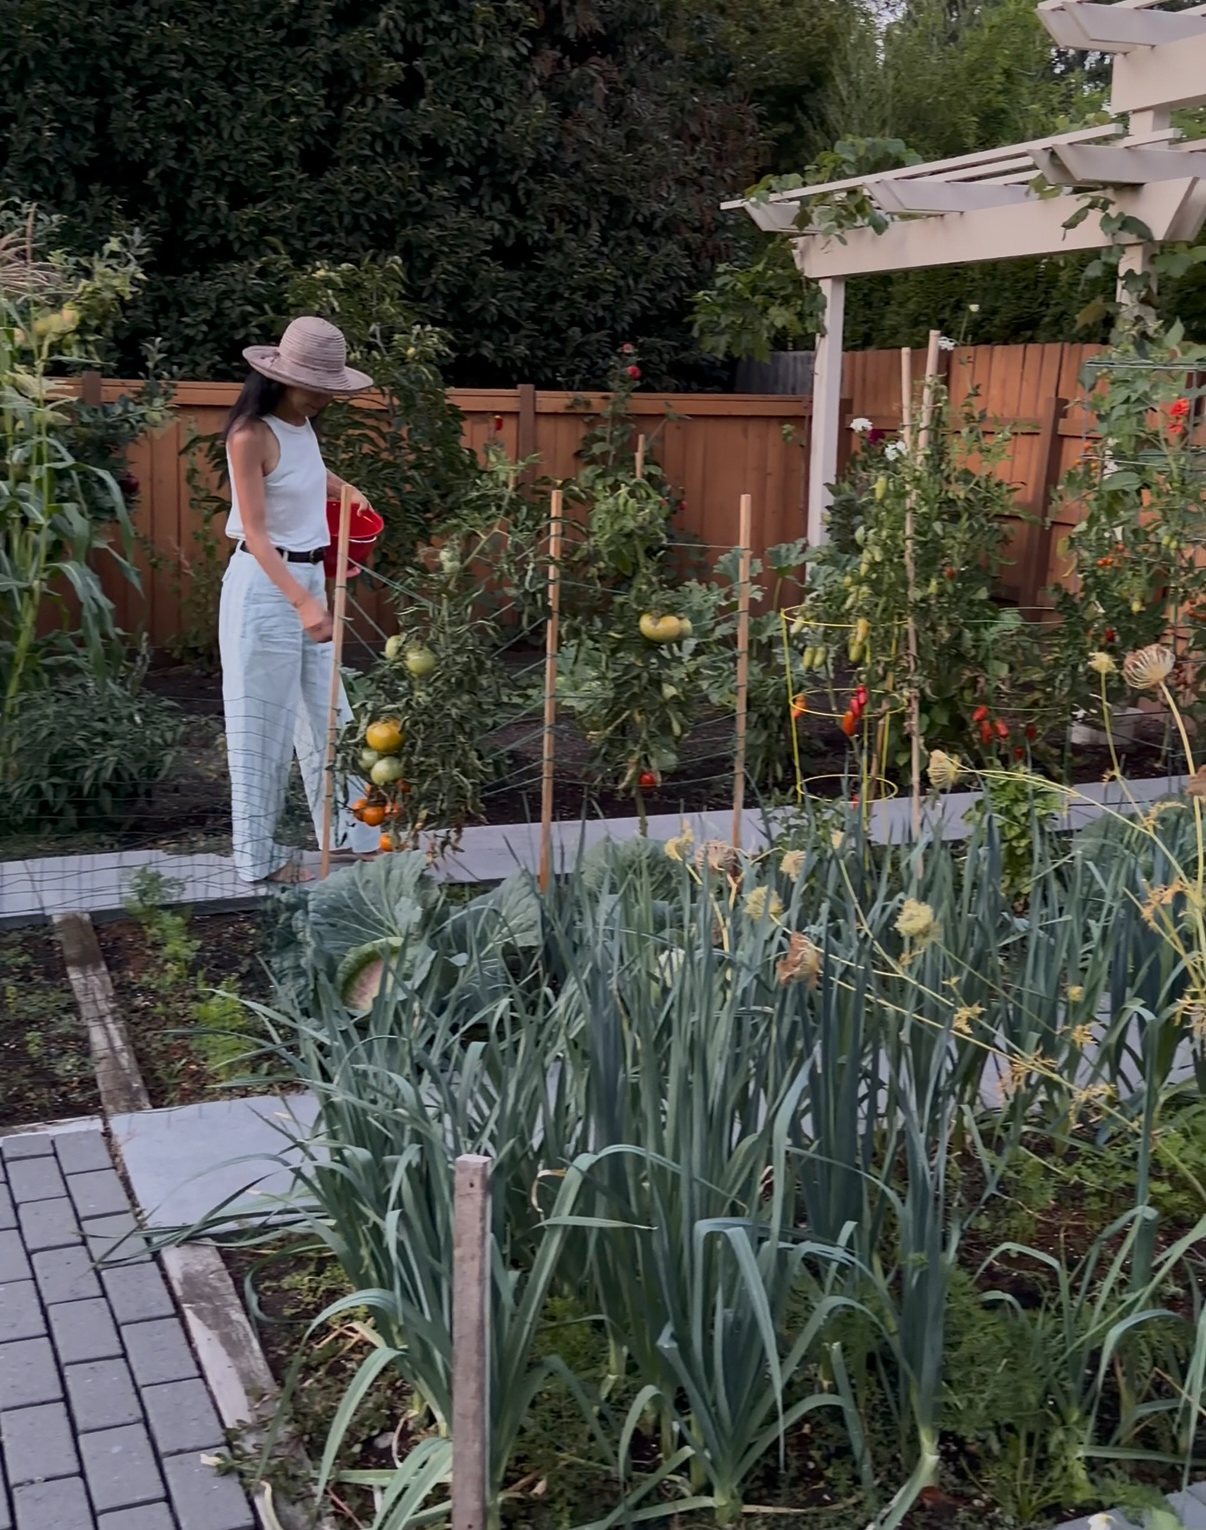
Evening watering. Cooler air means less evaporation, and it gives me an excuse to walk the beds.
Your first season, roughly
One last thing
You will kill things. We all do, every single year, including people who have been at this for decades. A dead plant costs four dollars and teaches you something about your own yard that no article ever could. Plant anyway.
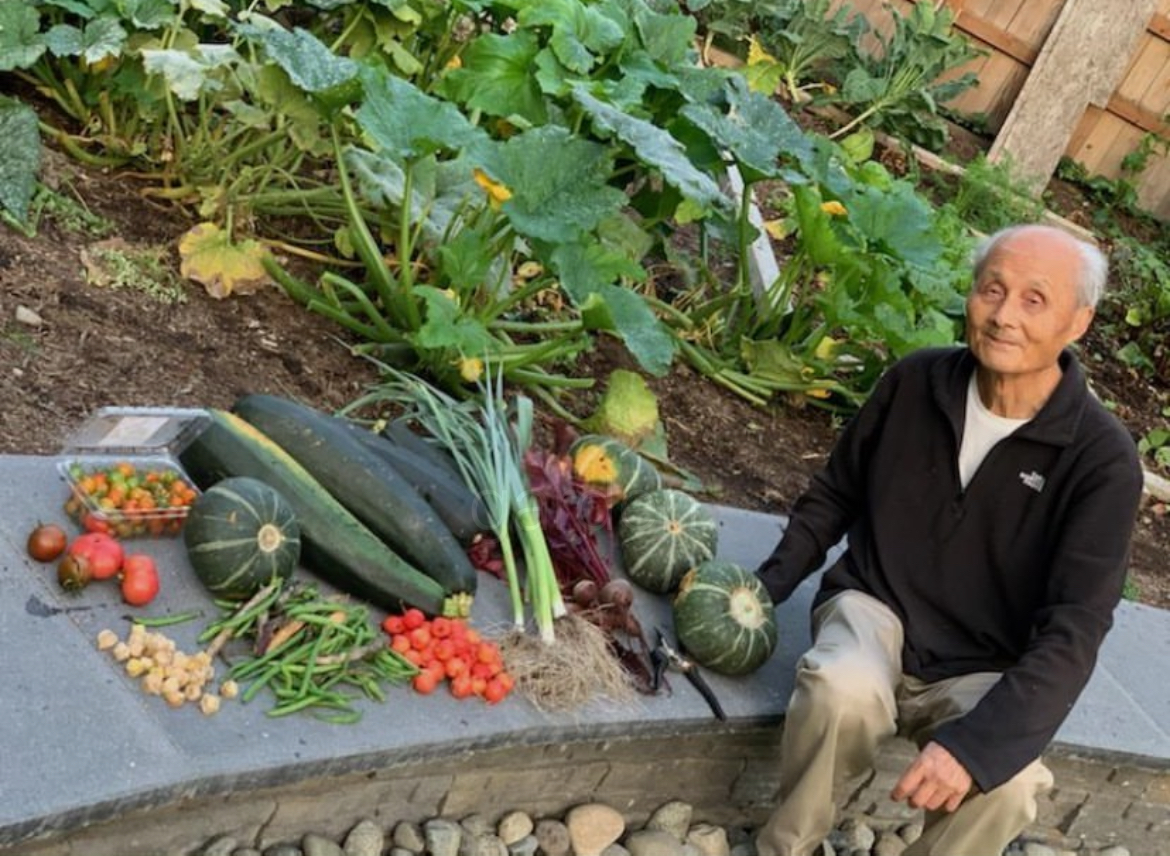
My father with his harvest. A few years in, this is what one small yard can do.